steps
- Start with a square piece of paper.
- Fold paper in half diagonally to make a triangle.
- Fold paper triangle in half so that the pointed corners meet.
- Fold paper triangle in thirds, overlapping the lefthand pointed corner over the triangle.
- Overlap the righthand pointed corner over the triangle.
.
Thereof, how do you make a snowflake with paper?
How to Make 6-Pointed Paper Snowflakes
- Step 1: Start With a Square. First, begin with a square piece of copy paper.
- Step 2: Fold in Half Diagonally. Fold the square of paper diagonally to make a triangle.
- Step 3: Fold in Half Again.
- Step 4: Fold One Third.
- Step 5: Fold Again.
- Step 6: Cut the "top" Off at an Angle.
- Step 7: Shape It!
- Step 8: Unfold to Reveal!
One may also ask, how do you draw a snowflake? 1. How to Plan a Snowflake
- Draw a vertical line and mark its center.
- Cross the center with two lines.
- Sketch (or imagine, if you want to keep it clearer) a smaller circle in the middle.
- Connect the lines near the center to create a small hexagon.
- Cross each line with a short horizontal line and a dot above it.
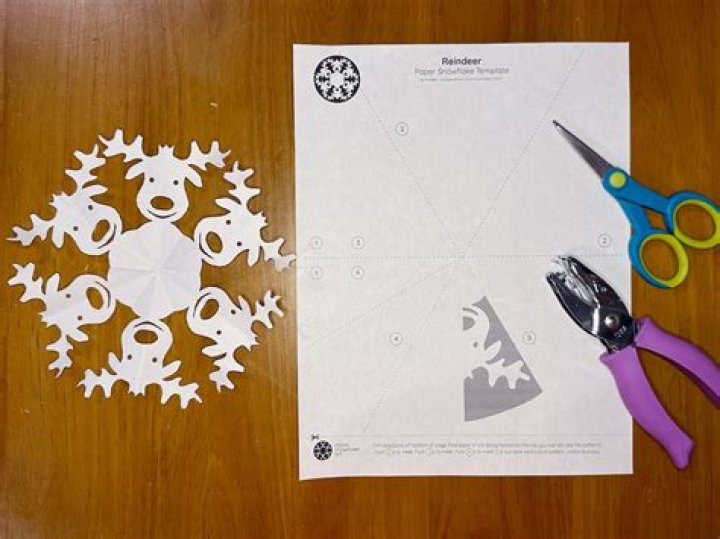
Keeping this in consideration, how do you make a paper snowflake with scissors?
To make a paper snowflake, cut a piece of paper into a square shape. Fold the paper in half diagonally to form a triangle, then fold it in half twice more. Using scissors, make cuts into the sides of the paper, such as triangles, rectangles, or round shapes.
How do you make a 3d paper snowflake?
STEPS
- 1Make 6 identical squares. Prepare 6 squares of equal size using blue, white, or silver plain or patterned paper.
- 2Fold the square in half. Take one of the six squares.
- 3Fold the triangle in half.
- 4Make three slits.
- 5Unfold the paper.
- 6Glue the inner flaps together.
- 7Flip the paper.
- 8Glue the second pair of flaps.
How do you make a snowflake out of rectangle paper?
Fold Paper and Cut the Snowflakes- Start with a square of paper.
- Fold the square in half once to create a rectangle.
- Fold the rectangle in half to create a square with four layers.
- Unfold the square, taking the paper back to its rectangular shape (Step 1).
- Open the paper to its rectangular shape again.
How do you make a paper crane?
Steps- Get a blank square sheet of paper.
- Fold the paper in half into a rectangle.
- Fold the top of the paper down until the top edge aligns with bottom edge of the paper and then crease.
- Fold it in half the other way.
- Fold vertically from right to left.
- Crease, then unfold.
How do you make paper?
Table of Contents- Step 1: Prepare for Paper-Making.
- Step 2: Shred Some Scrap Paper.
- Step 3: Soak the Scrap Paper.
- Step 4: Blend the Pulp.
- Step 5: Customize the Pulp.
- Step 6: Set up Your Workspace.
- Step 7: Pour the Pulp.
- Step 8: Remove the Screening.
How can you make a paper airplane?
Paper Airplane DIY- Fold the paper in half vertically.
- Unfold the paper and fold each of the top corners into the center line.
- Fold the top edges into the center line.
- Fold the plane in half toward you.
- Fold the wings down, matching the top edges up with the bottom edge of the body.
- Add double stick tape to the inside of the body.
How do you make a snowflake out of a4 paper?
If you're starting with an A4 piece of paper or a rectangular shape, make a square by folding one corner down to form a triangle and cutting off the excess paper. Begin with your square piece of paper and fold it in half diagonally to make a triangle. From the square, fold the piece of paper over to create a triangle.How do you make a ninja star?
How to Make an Origami Ninja Star- Step 1: Materials.
- Fold the top of the paper down on both sections.
- Fold both of them in half horizontally, and unfold.
- For the left piece, fold the left side up, aligning it with the fold you made in the previous step.
- Follow the photos.
- Flip them over.
- Fold the corners like so.
- Orient the papers like in the photos.